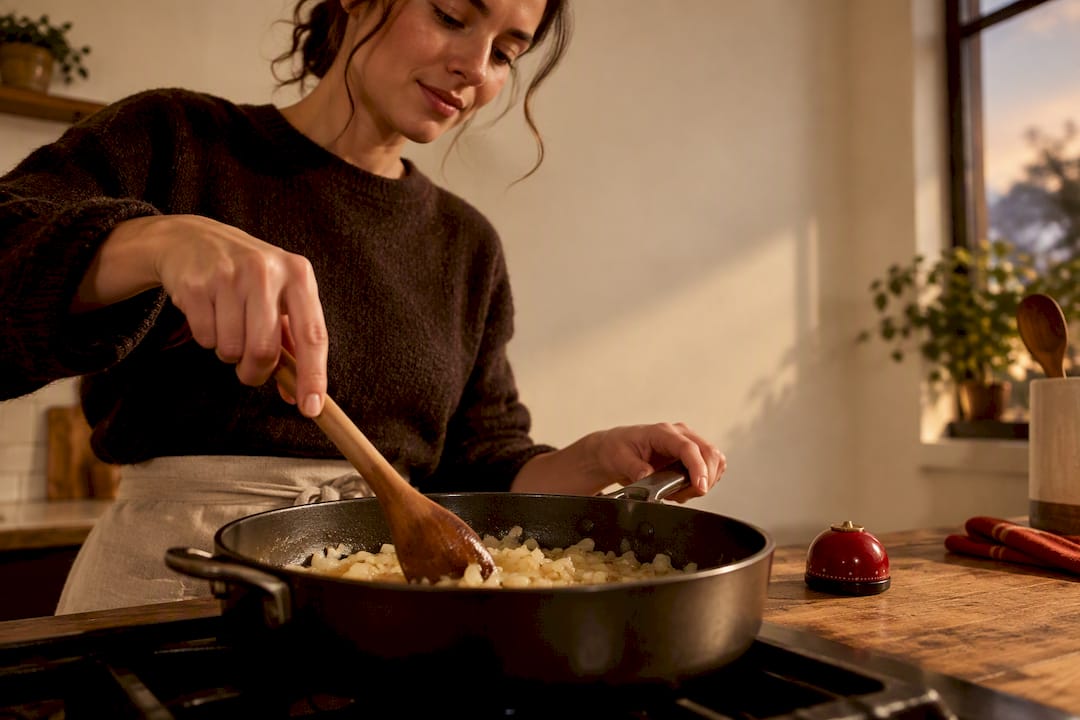
Guided cooking steps are short, ordered actions, each with its own timer and a clear finish cue, that break a recipe into pieces small enough to execute without guessing. The payoff is simple: you finish the meal you planned, on time, without burning the garlic while you hunt for a measuring cup. Two things make this work: doing your mise en place before the pan gets hot, and setting a timer for every individual step instead of just the whole recipe.
TL;DR:
- Guided cooking step instructions break down recipes into single, timed actions, reducing cognitive load and helping beginners execute tasks accurately.
- Proper preparation through mise en place and staging ingredients minimizes errors and saves time during cooking.
- Setting individual timers for each step and confirming with sensory cues ensures better doneness and safety, especially for meat and poultry.
- Using technology features like step-specific timers, ingredient highlights, and screen wake-locks enhances accuracy and reduces distractions.
- Planning weekly meals, checking pantry inventory, and batching ingredients support consistent guided cooking and improve overall kitchen efficiency.
Table of Contents
- What Are Guided Cooking Steps, and Why Do They Help Beginners?
- The Prepare, Segment, Time, Check Framework
- Step-by-Step Templates for Common Beginner Meals
- Food Safety Quick Reference for Guided Cooking
- Plan and Shop to Make Guided Cooking Repeatable
- Tools and Technology That Actually Help Guided Steps
- How Homecooked Puts This Framework Into Practice
- Why Step-by-Step Learning Actually Builds Real Cooking Skill
- Try Homecooked for Your Next Guided Recipe
- Sources
- FAQ
What Are Guided Cooking Steps, and Why Do They Help Beginners?
A recipe written for an experienced cook and a recipe written as guided cooking steps are two different documents, even when they describe the same dish. The traditional format lists ingredients up top, then a paragraph of instructions that assumes you already know what “fold in gently” or “cook until fragrant” actually looks like. A guided format breaks that same paragraph into single actions: heat the oil, add the onion, stir for one specific interval, watch for one specific visual cue.
That segmentation matters because your brain can only track so much at once while you’re also trying not to burn yourself. Cognitive load is the real enemy in a beginner kitchen, not lack of talent. When a recipe hands you six things to remember in one sentence, something gets dropped: the flame stays too high, the garlic goes in before the onions are ready, the pasta water never gets salted. When a recipe hands you one action at a time with a start cue and a finish cue, you have almost nothing to forget.
This is also where sensory cues start doing real work. A guide to cooking techniques explains that different methods (moist heat, dry heat, frying) each have their own tell for doneness, and a guided step can bake that tell right into the instruction instead of leaving you to guess. “Cook until the onions turn translucent” is more useful than “cook 4 minutes” because stove heat varies, pan thickness varies, and a timer alone can’t see what’s actually happening in the pan.
The practical benefits stack up fast once you start cooking this way:
- You move faster, because you’re never pausing mid-step to reread a paragraph and figure out what “it” refers to.
- You waste fewer ingredients, because segmented steps catch mistakes (wrong order, missed seasoning) before they ruin the batch.
- You build real confidence, because completing five small steps feels achievable in a way that “cook the following recipe” does not.
- You develop technique, because repeated exposure to the same segmented actions (searing, deglazing, reducing) teaches you what those words actually mean in practice.
None of this requires fancy equipment or professional training. It requires a format that respects how much a beginner brain can hold at once, and a habit of setting up before you turn on the heat.
The Prepare, Segment, Time, Check Framework
Every guided recipe, whether it’s printed on an index card or running in an app, follows some version of the same four moves: prepare, segment, time, check. Learn this once and you can apply it to almost any recipe, guided or not.
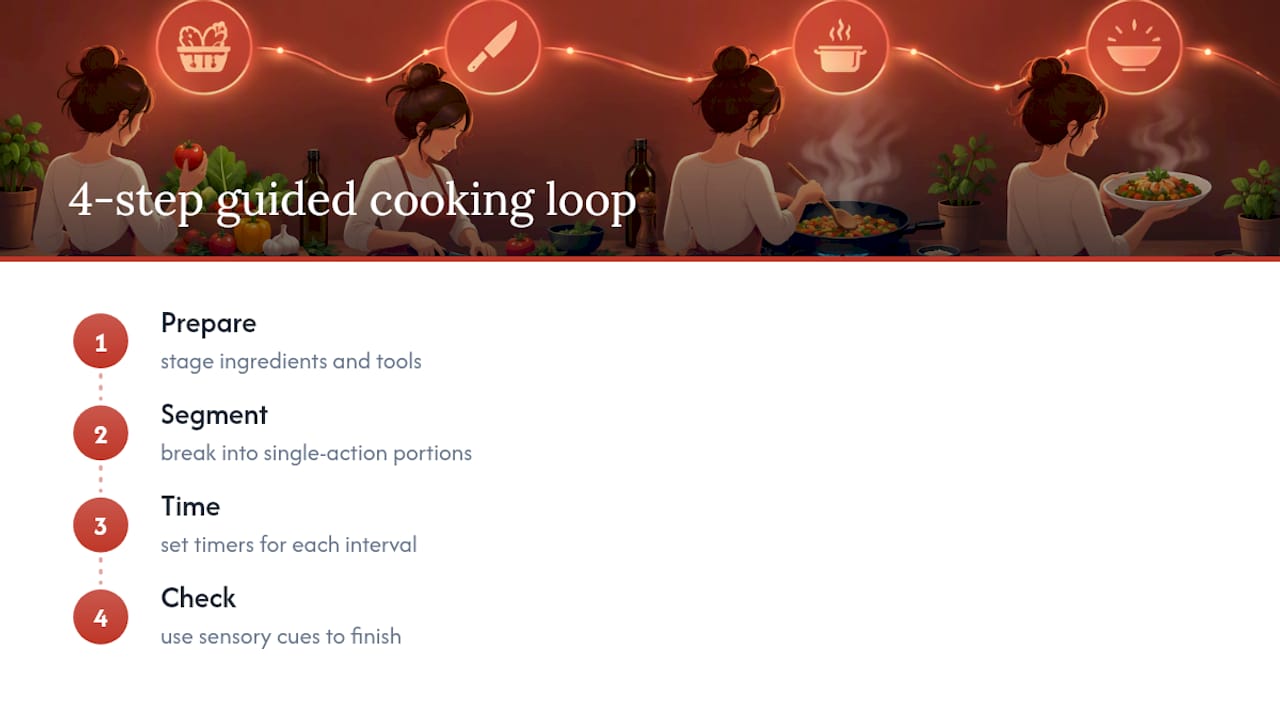
1. Prepare: build your mise en place
Mise en place, French for “everything in its place,” is the single habit that separates a smooth cook from a frantic one. Culinary instructors treat it as non-negotiable because proper preparation prevents the mistakes and stress that come from hunting for a spatula while your onions burn.
Before you touch a burner, run this checklist:
- Read the full recipe once, start to finish, so you know what’s coming.
- Pull out every tool you’ll need: pans, knives, measuring cups, a timer.
- Measure and pre-cut ingredients, and group them by which step uses them.
- Set up work zones: a cutting zone, a cooking zone, a plating zone, so you’re not crossing your own path.
- Clear counter space near the stove for the items you’ll grab first.
This step alone eliminates the most common beginner disaster: realizing you’re out of an ingredient, or that the garlic still needs peeling, thirty seconds after the pan hits high heat. Our mise en place walkthrough shows how this staging routine typically takes 10 to 20 minutes and pays that time back tenfold once the cooking starts.
2. Segment: break the recipe into one-action steps
Once everything is staged, rewrite the recipe (mentally or on paper) into single actions. A dense instruction like “sauté the aromatics, then add the sauce ingredients and simmer until thickened” becomes three or four guided cooking steps: add oil and onion, stir until soft, add garlic for thirty seconds, pour in the sauce and simmer until it coats a spoon. Each segment gets one job. If you find yourself writing “and” in the middle of a step, that’s usually a sign it needs to split into two.
3. Time: set a timer for every step, not just the whole dish
This is where most beginner cooking falls apart, and it’s the easiest fix available. A single timer for “20 minutes total” tells you nothing about what should be happening at minute 6 versus minute 14. Guided cooking steps assign a timer to each segment, and when multiple components need to finish together, you stagger the start times deliberately.
The trick for parallel cooking is to map your longest element first. If the rice takes 18 minutes and the chicken takes 12, start the rice, then start the chicken six minutes later, so both land at the same time. Write each step with a start cue and a finish cue, something like “start simmering for 12 minutes” paired with “finish when the sauce turns glossy and reduces by half.” Our breakdown of timers and parallel steps walks through this staggering approach for common weeknight dinners.
Pro Tip: Set your timer the moment you start a step, not after you finish prepping for it. A timer that starts late is the single biggest reason “12 minute” steps quietly turn into 18 minute ones.
4. Check: confirm with a sensory cue, not just the clock
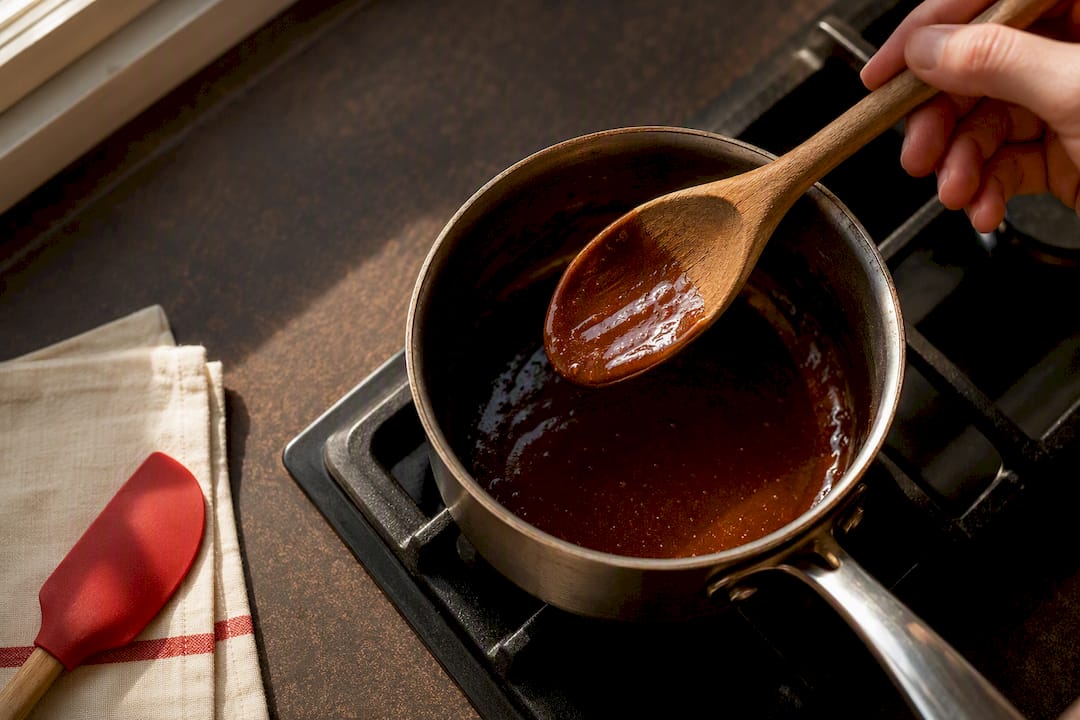
A timer is a safety net, not the whole system. The best guided steps pair a duration with a sensory check: onions should look translucent and soft, a steak should release easily from the pan, a sauce should coat the back of a spoon instead of running off it. If the timer goes off but the cue hasn’t shown up yet, trust the cue and give it another minute or two. This is how experienced cooks work without ever staring at a clock, and it’s a skill you build by paying attention every time, not by memorizing exact minute counts.
Step-by-Step Templates for Common Beginner Meals
These four templates cover the meals almost every novice cook needs first. Follow them exactly a few times, and you’ll start recognizing the pattern well enough to adapt your own recipes the same way.
Breakfast: eggs and toast
- Prepare: pull out a nonstick pan, a spatula, butter, two eggs, and bread. Set the toaster.
- Start the toast first if it takes longer than your eggs will, so both finish together.
- Heat the pan on medium low for 1 to 2 minutes. Add butter and let it melt without browning.
- Crack in the eggs. For a soft yolk, cook 2 to 3 minutes until the whites set but the tops still look slightly wet.
- Check the cue: whites should be fully opaque, yolks should jiggle but not run off the plate.
- Plate the eggs the moment the toast pops, so nothing sits and gets cold.
One-pan dinner: protein, then vegetables, then finish
- Sear the protein first in a hot pan, then set it aside to rest while you use the same fond (the browned bits left behind) to cook vegetables.
- Cook harder vegetables (carrots, potatoes) before softer ones (spinach, zucchini), since they need more time.
- Return the protein to the pan in the last 1 to 2 minutes to reheat and let the flavors combine.
- Finish with a splash of stock, lemon, or a pat of butter, checked by taste, not by the clock.
This sequence works because it respects cook times instead of fighting them: nothing sits waiting while something else catches up.
Pasta: timing the water, testing doneness, finishing the sauce
- Start a large pot of water on high heat before you do anything else. It needs to come to a full boil, which takes longer than most beginners expect.
- Salt the water generously once it boils. This is your one chance to season the pasta itself.
- Add the pasta and set a timer for one minute less than the package suggests.
- While the pasta cooks, build your sauce in a separate pan so both finish at nearly the same time.
- Check doneness by tasting a piece, not just trusting the timer. It should have a slight resistance in the center.
- Reserve a splash of pasta water before draining. It helps the sauce cling instead of pooling at the bottom of the bowl.
- Toss the drained pasta directly into the sauce, off the heat, so it finishes coated rather than sitting dry.
Sheet-pan roast and basic baking: staging and resting
- Preheat the oven fully before the pan goes in. A cold oven throws off every timing cue that follows.
- Cut vegetables and proteins to similar sizes so they finish roasting together instead of some burning while others stay raw.
- Leave space between pieces on the pan. Crowding traps steam and turns roasted vegetables soggy instead of browned.
- Rest meat for 3 minutes after pulling it from the oven, which lets the juices redistribute instead of running out onto the cutting board.
- For baked goods, resist opening the oven door early. It drops the temperature and can collapse a rising batter.
Adapting templates for your own kitchen
None of these sequences require specific brands of equipment. If you’re cooking for one instead of a family, cut ingredient quantities but keep the same timing and sequencing, since cook times depend on size and heat, not how many servings you’re making. If your stove runs hotter or cooler than average, trust the sensory cue over the stated minute count, and adjust the timer on your next attempt once you know your own equipment.
Food Safety Quick Reference for Guided Cooking
Guided cooking steps only work if they’re also safe ones, and the numbers here aren’t optional guidelines. They’re the baseline the USDA’s Food Safety and Inspection Service sets for home kitchens.
Ground meats need to hit 160°F internally, poultry needs 165°F, and steaks, chops, and roasts need 145°F followed by a 3 minute rest before you cut in. Leftovers being reheated should come back up to 165°F, not just “warmed through.”
The danger zone: Bacteria multiply fastest between 40°F and 140°F, roughly doubling every 20 minutes in that range, according to USDA guidance. That’s why food shouldn’t sit at room temperature for more than two hours, and why a guided recipe that has you leave raw chicken on the counter “while the oven preheats” is a recipe worth rewriting.
Build these habits into every guided sequence you follow:
- Use a digital thermometer instead of guessing by color or texture. Color is not a reliable safety indicator, especially for poultry.
- Keep raw meat, poultry, and seafood on a separate cutting board from anything eaten raw, like salad greens.
- Wash hands and surfaces after handling raw protein, before touching anything else.
- Refrigerate leftovers within 2 hours of cooking, and sooner if your kitchen runs warm.
- Reheat leftovers fully to a safe temperature rather than just until they feel hot.
These rules take seconds once they’re habits, and they belong in the “check” phase of every guided step involving meat, poultry, or leftovers.
Plan and Shop to Make Guided Cooking Repeatable
Guided steps fall apart fast if you’re missing an ingredient halfway through, so the planning happens before you ever open the fridge. A three-step routine handles most of it: pick your recipes for the week, check what’s already in your pantry and freezer, then group your shopping list by the sections of the store you’ll actually walk through.
That inventory check matters more than it sounds. University of Minnesota Extension points out that checking your cupboards and freezer before shopping, then organizing your list by store layout, cuts down on both waste and impulse buys. A grouped list also means you’re not wandering back to produce three times because you forgot to check what’s already there.
A well-stocked pantry shortens every guided sequence you’ll ever cook, since half of any recipe’s prep step is usually salt, oil, garlic, onion, and a starch. Keep these on hand and you’ll rarely be stuck mid-recipe:
- Neutral oil, olive oil, kosher salt, and black pepper.
- Onions, garlic, and a couple of alliums that keep well.
- Rice, pasta, and canned beans or tomatoes as flexible bases.
- A few dried herbs and one hot sauce or vinegar for finishing flavor.
Leftovers deserve a spot in your planning too. Extra roasted vegetables slide straight into the one-pan dinner template above, and leftover rice becomes tomorrow’s fried rice or a bibimbap-style bowl instead of getting thrown out. Batch-cooking a protein on Sunday, then reusing it across two or three guided templates during the week, is one of the simplest ways to make guided cooking sustainable instead of a one-time experiment. Our guide to turning a meal plan into a grouped grocery list walks through this exact routine step by step, and if you want to stretch a batch further, freezer meal planning cuts active cooking time nearly in half on busy weeks.
Tools and Technology That Actually Help Guided Steps
Not every gadget marketed for beginner cooks earns its place on the counter. A few specific features, though, make a measurable difference in whether you actually finish a guided recipe without losing your place.
Look for these when choosing an app, a printed card system, or even a note on your phone:
- Large, single-step text view, so you’re reading one action at a time instead of scanning a wall of paragraph text with greasy hands.
- Per-step timers, not just one overall recipe timer, so each segment gets its own countdown.
- Ingredient highlighting, showing only what the current step needs instead of the full list every time.
- Screen wake-lock, so your phone doesn’t lock itself while your hands are covered in flour.
- Step checkboxes, giving you a visual record of what’s done and what’s still ahead.
Interfaces built this way exist for a reason: product usability research on cook-mode features has found that showing one step at a time with a persistent timer and an unlocked screen meaningfully cuts down on distraction and accidental taps mid-recipe. A hands-free step view matters even more than it sounds, since a locked screen mid-simmer is exactly when you’re least able to deal with a passcode.
Pro Tip: An old phone or a cheap tablet works fine as a countertop cooking guide. Prop it against a wall or in a stand, turn on wake-lock in your device settings, and you’ve solved the single biggest annoyance in phone-based cooking: the screen going dark right when you need it.
That said, an app isn’t mandatory. Printed steps taped to a cabinet, written in your own segmented format, deliver the same benefit if you’re not ready to cook with a screen nearby. The framework matters more than the medium; the technology just removes friction once you’ve already learned the pattern.
How Homecooked Puts This Framework Into Practice
Some apps build the prepare, segment, time, check framework directly into their recipes instead of leaving you to reconstruct it from a wall of text. Some meal plans start pantry-first, so the system already knows what you have before suggesting what to cook, cutting down on the “missing ingredient” problem that derails so many guided sequences.
Shopping lists can generate automatically from plans and can be shared with a household without requiring everyone to sign up separately, which covers the planning and shopping half of this whole system. Guided recipes can break each dish into short, ordered steps as described above, with per-step timers and cues for coordinating parallel tasks, like starting rice before the protein so both land on the plate at the same time. A recipe like the bibimbap walkthrough shows that sequencing in action: separate components staged and timed to finish together instead of piling onto one confused pan.
Why Step-by-Step Learning Actually Builds Real Cooking Skill
Beginners don’t struggle with cooking because the techniques are hard. They struggle because most recipes are written for people who already know what the techniques feel and look like. Segmenting a recipe into small, timed, checkable actions strips away that assumption, and the effect compounds: the third time you cook a one-pan dinner using this structure, you’re not reading every step anymore. You’re recognizing the pattern.
Pick one template from this guide tonight, the eggs and toast or the pasta sequence, and run it exactly as written. Don’t improvise yet. The point of a guided step isn’t to limit you forever; it’s to hand you enough repetitions that the next recipe you attempt without guidance still holds together.
— 0xmaglev
Try Homecooked for Your Next Guided Recipe
Some platforms provide recipes broken into short, timed steps instead of dense paragraphs you have to segment yourself. That’s the difference from cooking off a printed recipe card or a generic search result: the prep, timing, and parallel steps are worked out for you, so you’re following, not reconstructing.
Getting started takes three small moves. Create a shared grocery list with your household so nobody’s shopping from memory. Open a guided recipe, like the apple pie walkthrough, and let the app’s timers handle the pacing instead of a kitchen clock. Then let cook-mode carry you through parallel steps, staging the longest component first exactly the way this guide recommends.
If you’re building healthier habits alongside better technique, a recipe like the cottage cheese protein bowl shows how guided steps and nutrition goals work together rather than fighting each other. Visit Homecooked to start your plan and see how the framework in this guide runs inside an actual kitchen tool.
Sources
For the safety numbers in this guide, go straight to the USDA’s food safety basics. For meal-planning fundamentals, University of Minnesota Extension covers budget-stretching basics in depth. For technique explanations and sensory cues, the MSU Extension cooking techniques guide is worth bookmarking. For a seasonal batch-prep angle, see Wild Foodz’s meal prep tips.
- FSIS: Steps to keep food safe
- University of Minnesota Extension: Stretch your grocery budget
- MSU Extension: A guide to cooking techniques and how they work
- ECPI: Why mise en place is important for culinary students
FAQ
What Are the 4 P’s of Guided Cooking Steps?
This guide’s framework uses four P-sounding stages that cover the same ground cooks usually mean by “the P’s of cooking”: prepare, segment, time, and check. Preparation (mise en place) comes first, since proper prep prevents most beginner mistakes, followed by breaking the recipe into segments, timing each one individually, and checking doneness with a sensory cue rather than the clock alone.
What Is the 2 2 2 Rule in Cooking?
There’s no single agreed-upon “2 2 2 rule” in professional cooking guidance, so definitions vary depending on where you encounter it. What is consistent across food safety sources is the 2 hour rule: refrigerate leftovers within 2 hours of cooking to keep them out of the bacterial danger zone.
How Do I Start Cooking as a Complete Beginner?
Start with one guided template, like eggs and toast or a simple one-pan dinner, and run it exactly as written before improvising. Build your mise en place first, set a timer for every individual step rather than the whole recipe, and use a food thermometer for anything involving meat or poultry to confirm the safe internal temperatures.
What Are the Basic Steps of Meal Planning?
A workable beginner routine covers picking recipes for the week, checking your pantry and freezer before shopping, and grouping your shopping list by store section, exactly the approach University of Minnesota Extension recommends for cutting waste and cost. From there, planning for leftovers and batch-cooking a protein once for use across two or three meals rounds out a routine that supports guided cooking all week. Homecooked automates most of this by building shareable shopping lists directly from your weekly plan.
Do I Need an App for Guided Cooking Steps to Work?
No. The framework works on a printed card or a handwritten list as long as the recipe is segmented into single actions with a timer for each one. An app becomes worth it once you want features like per-step timers that run automatically, ingredient highlighting, and a screen that won’t lock while your hands are messy, all of which cut down on friction during an actual cook.