
The best way to organize a pantry is to empty it, sort everything into groups that match how you cook, and give each group a labeled home at the height you reach for it. Containers and bins come second. The order matters more than the shopping: most pantries fall apart because the system never matched your habits. Below you’ll find the full process, the ideas that suit small and walk-in spaces, a low-cost shopping list, and a way to keep it from sliding back into chaos. We’ll also show where a pantry-first cooking app takes the upkeep off your plate.
TL;DR
- Take everything out, toss what’s expired, and clean the shelves before you buy a single bin.
- Group food by theme (baking, snacks, canned goods, breakfast) or by how you cook, never by package size.
- Put daily items between waist and shoulder height, heavy bulk on the bottom, rarely used items up top.
- In a small pantry, go vertical: risers, over-the-door racks, pull-outs and lazy Susans.
- Use first in, first out and a short monthly check so the system lasts. Our app can track what’s on your shelves for you.
Table of Contents
- Start with a full reset, not a shopping trip
- How to group pantry food into zones
- Pantry organization ideas for a small pantry
- Walk-in pantry ideas
- Containers, labels and dates
- Low-cost pantry organization ideas
- Keep it organized: the routine that matters
- Our perspective: an organized pantry should feed your meal plan
- Put your organized pantry to work with Homecooked
- A sample weekend plan
- Common mistakes to avoid
- FAQ
- Sources
Start with a full reset, not a shopping trip
Every expert guide we reviewed starts the same way: remove everything. Architectural Digest’s six-step process begins by emptying the pantry, grouping items by category, and measuring shelves before buying containers. Wirecutter says the same: empty the shelves, take stock, then plan zones.
Here is the sequence in practical terms.
- Block out the time. Aline Lau, a certified KonMari consultant, told Consumer Reports that people underestimate how long the job takes, and that setting aside a whole day is more realistic. A small reach-in may take an afternoon. A walk-in can take the day.
- Pull everything out. Lay it on the counter and table, grouped as you go. Seeing it all at once is the point. This is when you discover three open bags of brown sugar and four half-used jars of cumin.
- Check dates and toss. Megan Barnhart, a professional organizer, told Architectural Digest to note expiration dates as items come out and to discard anything past its best-by date. Donate unopened, in-date food you won’t use.
- Clean the shelves. Wipe them down. This Old House suggests cleaning top to bottom and laying paper or non-slip liners on the shelves. Catherine Benson, an organization enthusiast in Lexington, Kentucky, told Architectural Digest that liners protect wood and paint and make later cleanups easier.
- Measure before you buy. Shelf height, width and depth decide which bins fit. Buying containers first is a popular tip, but a measuring tape saves you from returns.
- Put it back by zone. Use the next section as your guide, then label everything.
Plan a reset at least once a year. Martha Stewart’s pantry guide recommends one, and Architectural Digest’s process adds quarterly check-ins.
How to group pantry food into zones
Zones are what turn a tidy pantry into a usable one. The idea is simple: assign each kind of cooking or eating its own area, keep the most-used areas within easy reach, and label each one.
Group by theme, not by size
Naeemah Ford Goldson, a professional organizer and founder of NABPO, told Wirecutter to sort foods into themed categories such as snacks, baking supplies, drinks, condiments and oils. Sorting by size can squeeze in more, but it won’t help you find things fast.
A starter set of zones that fits most American kitchens:
- Canned goods: tomatoes, beans, broth, tuna, coconut milk
- Grains and pasta: rice, pasta, oats, quinoa, noodles
- Baking: flour, sugar, baking soda and powder, vanilla, chocolate chips
- Oils, vinegars and sauces: olive oil, soy sauce, hot sauce, vinegars
- Snacks: crackers, granola bars, popcorn, nuts
- Breakfast: cereal, oatmeal, pancake mix, syrup
- Spices: in one spot near where you cook
- Onions, potatoes and other long-lasting vegetables: in baskets or open bins
If you’re stuck on what belongs in each group, our pantry staples list works as a checklist for stocking each zone sensibly. For grouping common foods into practical categories, this guide to organizing a kitchen pantry for maximum storage is a good companion.
Build zones around how you actually cook
Lisa Eckerle, owner of The Designer Organizer, told Architectural Digest that most of her clients end up with a hybrid: zones based on activity, with food-type categories inside each zone. Better Homes & Gardens suggests lifestyle zones such as weeknight dinners, portable lunches and baking essentials.
Martha Stewart’s framing is the easiest to remember: a pantry works best when it mirrors how you cook, so group by category, time of day or purpose, whichever makes sense for you. If you meal prep every Sunday, a “prep” zone with rice, beans, spices and containers beats a purely alphabetical layout. If you cook a lot of pantry meals from staples, keep those base ingredients together so you can see a dinner at a glance.
Households with kids can add a dedicated low shelf or bin. Kath Eats describes a lower shelf of baskets for children’s snacks and lunchbox items so kids can grab what they need themselves.
Put the right things at the right height
The rule across sources is consistent: the things you reach for most go in the easiest spots.
- Consumer Reports advises frequently used products at eye level, with rarely used items in less accessible areas. Sharon Lowenheim of Organizing Goddess adds that the shelves directly above and below eye level suit items used every day or a few times a week.
- For walk-ins, Clutterless Nest calls shelves between 48 and 60 inches from the floor prime real estate for daily-use items, with heavy items on the lowest shelves or in floor bins.
- Architectural Digest advises placing the most-reached-for categories near the door or in the center.
A simple test: if you use something less than once a week, it doesn’t deserve a prime shelf.
Pantry organization ideas for a small pantry
Small pantries have a depth problem more than a space problem. Deep shelves swallow cans and bags, and you end up buying duplicates. Amanda Wiss, founder of Urban Clarity, told Architectural Digest that the key is seeing every item without digging, which is why she favors vertical solutions like risers and extra shelves over deep shelving. Architectural Digest’s small pantry roundup boils it down to risers, stackable containers, added shelves and baskets, including on the door.
Ideas that earn their space:
- Risers and tiered shelves. They lift back rows so you see labels in every row.
- Lazy Susans. Professional organizer Nikki Bell told Martha Stewart’s small pantry feature that turntables give full access to taller items that get pushed back, and help keep categories together. They’re ideal for oils, sauces and jars.
- Over-the-door storage. Bell says it can double pantry space when used well, from a slim spice rack to a deeper one for beverages or canisters of sugar and flour, depending on door clearance.
- Magnetic panels or strips inside the door. Martha Stewart suggests them for tins of seasonings and small ingredients at eye level.
- Pull-out shelving. Martha Stewart also recommends swapping stationary shelves for pull-outs so ingredients don’t vanish at the back. IKEA’s pantry guide suggests narrow pull-out cabinets or baskets beside the fridge or in tight corners, plus sliding trays and adjustable shelves.
- Slivers of space. HGTV points out that even a couple of inches between appliances can become a pull-out pantry.
No pantry at all? Think of a tall cabinet, a shelf unit or a slim rolling cart as your pantry and apply the same zones. The system matters more than the architecture.
Walk-in pantry ideas
Walk-ins have the opposite problem: lots of space, easy to lose track of. Treat each wall as a job. The research we reviewed points to a clear pattern:
- Put the most-grabbed items, like daily snacks and cooking staples, on the entry wall at eye level.
- Reserve the zone between waist and shoulder height for daily staples, per Budget Nest Studio’s layout guide. Move items used less than once a week above or below it.
- Keep fixed shelves shallow. Creative Closet Design recommends 12 to 16 inches deep in a walk-in, with upper shelves stepped back so everything stays visible, and pull-outs wherever depth would bury items.
- In a narrow walk-in, keep shelving on both walls shallow enough for comfortable walkway clearance. Put daily items on one side and the less-used ones opposite, so the aisle doesn’t become an obstacle.
- Use a rolling cart or floor bins for heavy items and for produce like potatoes and onions, which need airflow rather than a closed shelf.
The Spruce’s walk-in advice echoes the same logic: clean out, sort into categories, and give the easiest-to-reach shelves to the foods you use most.
Containers, labels and dates
Which containers to use
Clear containers keep contents visible, but they aren’t mandatory. Decanting suits dry goods like flour, rice, pasta, sugar and cereal. Canned goods and boxed items often live better in bins or on risers in their original packaging.

Consumer Reports offers a trick worth stealing: buy containers about double the size of what you’re storing. A 16-ounce bag of pasta goes in a 32-ounce container, so a new bag fits in whole instead of leaving you with half in the container and half in the bag.
Better Homes & Gardens suggests a durable metal rack with baskets on a blank wall or inside a walk-in’s door to store canned goods from floor to ceiling, grouped by type.
A practical note if you decant: keep the cooking instructions and the best-by date. Cut them off the bag or snap a photo, or write the date on the label.
Labels
Label each shelf section and each bin. Martha Stewart recommends removable labels or erasable chalkboard tags, which let you change a zone without redoing the whole system. Good labels also help the rest of the household put things back in the right place.
First in, first out
Certified professional organizer Darla DeMorrow told Martha Stewart’s small pantry feature to use first in, first out: when you put groceries away, move the older item aside, load the newer one in, then put the older one back in front. Lowenheim’s version: with multiples, arrange them front to back, with the one expiring soonest in front.
Low-cost pantry organization ideas
A tidy pantry doesn’t require a custom build. A few price points from recent reporting:
- Best Life rounded up 11 Dollar Tree pantry finds at $1.50 each, $16.50 in total, including slotted baskets, a 6-cube storage rack, compartment organizers and locker bins with handles.
- Wirecutter notes that handled plastic bins from The Container Store run about $5 apiece and are easy to clean, and that Uline stackable bins come in many colors and sizes.
- Organizer Lela Burris documented spending $186 on her own pantry in 2020: baskets at $6 to $12 each, a $20 six-cube shelf, $96 of food storage containers, $10 in dry-erase labels and a $5 over-the-door shoe organizer. Prices will have moved since, so treat it as a ratio, not a quote.
Spend where you touch things every day: lazy Susans, risers and a few good dry-goods containers. Use cheap baskets for everything else. The over-the-door shoe organizer is a classic for packets, spice sachets and snack bars.
Keep it organized: the routine that matters
The reset is the easy part. Keeping the system alive takes small, scheduled habits.
- Fold maintenance into shopping. Wirecutter suggests merging pantry upkeep with your grocery routine. Do a two-minute scan before you write the list, so you don’t buy a fourth jar of paprika.
- Use spare moments. Martha Stewart says even 60 minutes is enough to take inventory and restore order if you use the occasional spare moment in your routine.
- Do a short sweep. Clutterless Nest recommends a monthly 30-minute back-shelf sweep: pull items from the back six inches of each shelf forward, check dates, wipe the shelf, and restock with FIFO.
- Reset seasonally. Schedule a full reset at least once a year, with quarterly check-ins if your pantry is busy.
The trick is getting yourself to actually look. That’s where an inventory beats willpower. Our guide to tracking your pantry and stopping food waste walks through a faster way to keep a running list.
Our perspective: an organized pantry should feed your meal plan
We think of pantry organization as step one of cooking, not a weekend project that stands apart from it. A neat shelf is nice. A shelf that tells you what’s for dinner is better.
That is why Homecooked is built pantry-first. Our meal planning starts from what you already have and what you want from your food, whether that’s a health goal or a flavor you love, and then builds the recipes, the shopping list and the cooking steps around it. When your pantry is sorted into clear zones, it becomes much easier to track, and tracking is what lets a plan use up the rice, canned tomatoes and spices you already own instead of buying more.
Our approach to the rest of the kitchen follows the same idea: automated shopping lists so you only buy what’s missing, guided recipe steps with live timers, and progress tracking so you can see your habits improve. Set up your zones once, keep your inventory current, and let the plan do the daily thinking.
0xmaglev
Put your organized pantry to work with Homecooked
Once your shelves are in order, the next question is what to cook from them. Homecooked is an app that makes personalized meal plans from your health goals and dietary preferences. It includes pantry tracking, automated shopping lists, step-by-step guided recipes with integrated timers, progress tracking and AI-powered cooking assistance. The paid plan, Homecooked Pro, comes with a free trial.
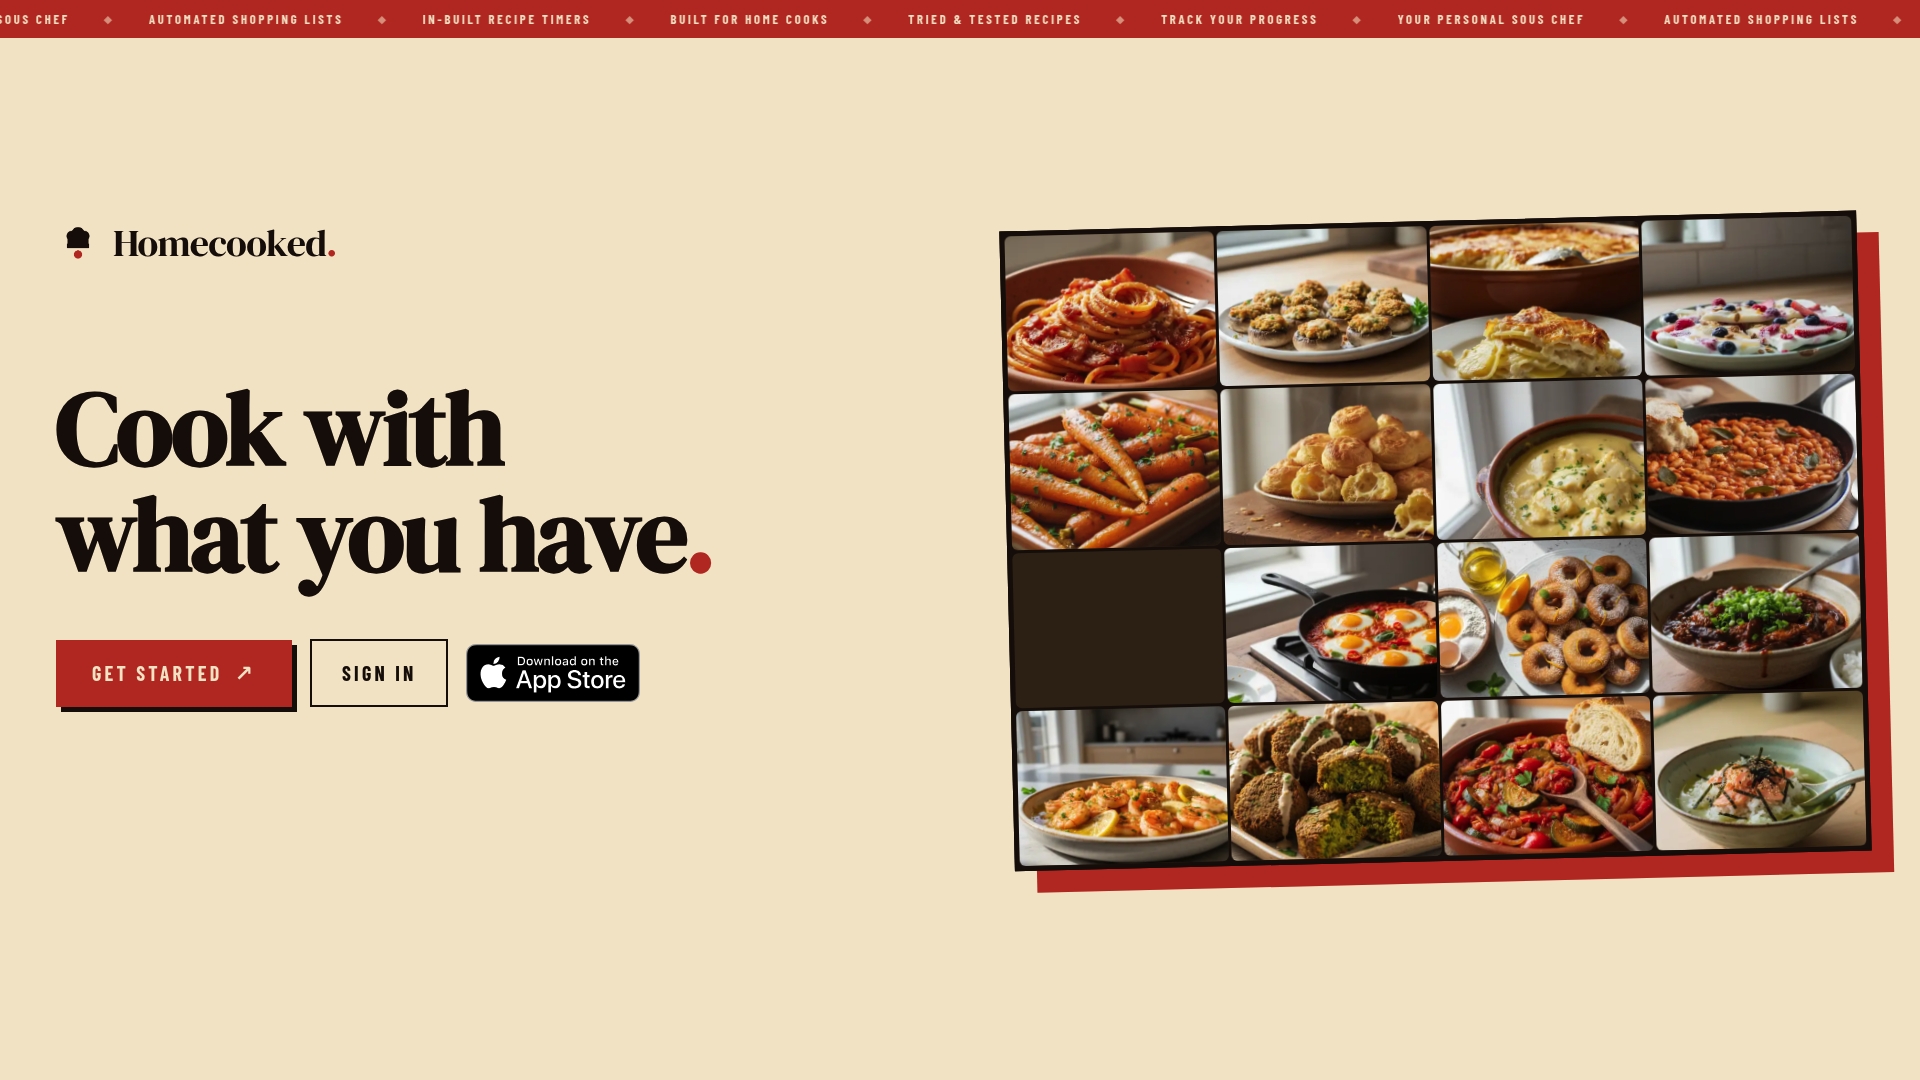
If you want to see how pantry-first planning looks in practice, try our recipes by ingredient approach, or start from a family meal plan that reuses pantry staples. If you batch cook, the three-hour batch cooking plan pairs well with a prep zone on your shelves. For a broader routine, see our meal planning guide for busy people.
A sample weekend plan
If you want a concrete schedule, here is one that fits a typical reach-in pantry.
Saturday morning (about 90 minutes): Empty the shelves, check dates, sort food into piles by theme, and wipe the shelves. Measure each shelf and write down height, width and depth.
Saturday afternoon (about 60 minutes): Buy only what the piles tell you that you need: a few bins, a couple of clear containers for the staples you use weekly, and labels. Skip matching sets until you know what fits.
Sunday (about 60 minutes): Put it back. Start with the heaviest items on the bottom, then the daily-use items at eye level, then the rarely used items on top. Label each zone, then move the older items to the front.

After that, the monthly sweep is a half-hour job, and the yearly reset is a morning, not a weekend.
Common mistakes to avoid
- Buying containers before sorting. You can’t pick the right size until you know what you own.
- Organizing by looks over use. Pretty matching jars at eye level are wasted if they hold things you use twice a year.
- Skipping the measuring tape. Shelves that are 12 inches deep won’t take a 14-inch bin.
- Overstocking. Shelves that are packed full hide the very food you’re trying to see. Setting a limit per zone helps you notice when you’re about to over-buy.
- Forgetting the household. If other people use the pantry, put the zones where they’d look, and label them clearly.
FAQ
What is the best way to organize a pantry?
Empty it completely, throw out expired food, and clean the shelves. Then sort food into themed groups, assign each group a zone, and put the daily-use items at eye level. Finish by labeling every zone and using first in, first out when restocking.
What are the pantry zones?
There’s no fixed list of seven. Pick the zones that match how you cook: for example canned goods, grains and pasta, baking, oils and sauces, snacks, breakfast and spices. Better Homes & Gardens suggests zones built on your lifestyle, such as weeknight dinners, portable lunches and baking essentials.
How do I group items in my pantry?
Group by theme or purpose, not by package size. Organizers quoted by Wirecutter and Architectural Digest favor a hybrid: zones for activities, with food-type categories inside each zone. Keep the most-used categories near the door or at eye level.
What is the alternative to a walk-in pantry?
A reach-in pantry, a tall cabinet, a freestanding shelf unit or a rolling cart can all work. Go vertical with risers, shelves, baskets and over-the-door storage, and use narrow pull-outs beside the fridge or in tight corners where you can.
How often should I reorganize my pantry?
A full reset once a year is a common recommendation, with quarterly check-ins if you cook a lot. Add a short monthly sweep of the back of each shelf, checking dates and pulling older items forward.
Sources
- How to Organize a Kitchen Pantry in 6 Easy Steps, Architectural Digest
- How to Organize Your Pantry So It Works for You, Wirecutter
- How to Organize a Pantry, Consumer Reports
- 9 Simple Tips for Organizing Your Pantry, This Old House
- How to Clean and Organize Your Pantry, Martha Stewart
- How to Organize a Pantry into Easy-to-Use Zones, Better Homes & Gardens
- How to Organize Canned Goods, Better Homes & Gardens
- 17 Small Pantry Ideas, Architectural Digest
- 15 Small Pantry Organization Ideas, According to Pros, Martha Stewart
- How to organize your kitchen pantry, IKEA US
- Small Pantry Organization Ideas, HGTV
- 28 Ways to Organize a Walk-In Pantry, The Spruce
- Walk-In vs Reach-In Pantries, Creative Closet Design
- 21 Walk In Pantry Layout Ideas, Budget Nest Studio
- Walk-In Pantry Organization Ideas for Every Shape, Clutterless Nest
- 11 Best New Dollar Tree Pantry Organization Finds, Best Life
- How I Organize My Own Pantry, Organized-ish
- How to Organize a Kitchen Pantry for Maximum Storage, Kitchen Devotion